Sprinkler Systems
Pipes/Plumbing
Electrical Lighting and Fixtures
HVAC Equipment and Fixtures


Self drilling & self tapping into steel up to 1/2″ thick—
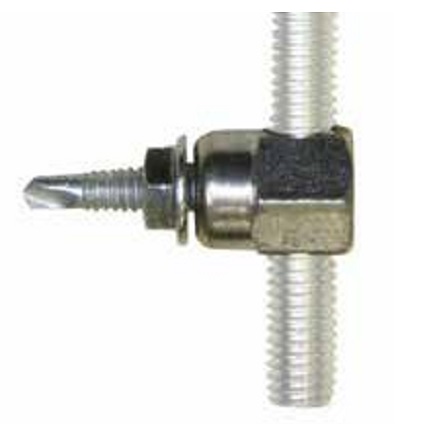
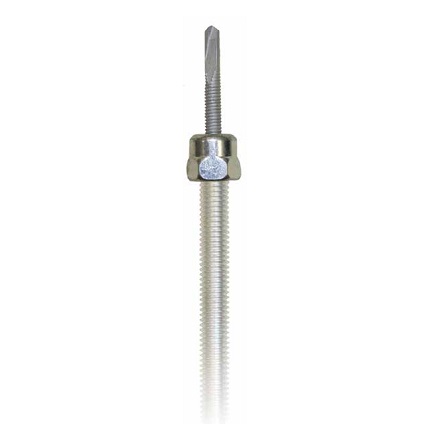
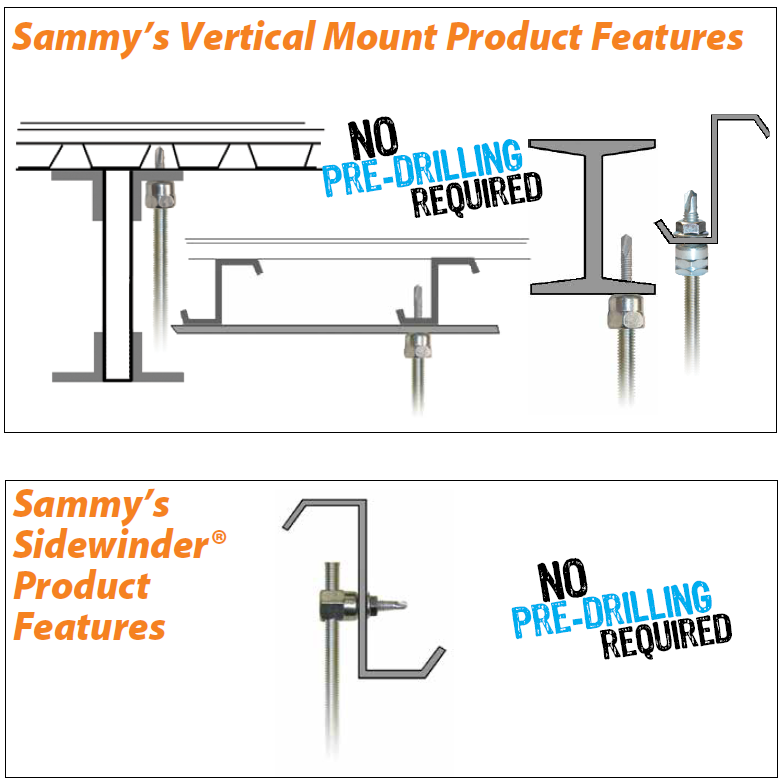
The Steel Sammy is made using Teks® self-drilling fasteners, perfect for Hanging Sprinklers, Pipes, Electrical Fixture or HVAC Equipment to steel purlin, structural beams, and open web joist. The Steel Sammy is available in vertical mount, horizontal mount, and Swivel mount to accommodate all fastening situations.

SWDR 516 FOR 3/8″ ROD
Structural attachment for installation of branch/end of line restraint using 3/8″ threaded rod. Used primarily in purlin, bar joist, or other steel structural members. These fastening systems provide a secure and economical attachment to the structure. The SWDR 516 model provides upper structural attachment in a range of steel thicknesses, from 20 ga. through 1/8″. A retaining nut is included with each fastener.
Restrained Pipe Size: Up to Schedule 40 pipe 2” or less
Max Length of Restraint Material: See Maximum Horizontal Load Tables below.
Maximum Angle: 45° from horizontal
Material: Carbon Steel
Screw Description: (SWDR 1-1/2): 12-24 X 1-1/2” Teks® 5 (SWDR 516): 5/16”-18 X 1-1/4” Teks® 3
Finish (both): Electro-Zinc (cap) Silver Climaseal® (screw)
Testing: BX Report # R-1362
Listing: UL 203 as a pipe hanger, UL 203A pending
To view our full performance tables, click here. (will open a new tab)
Sprinkler Systems
Pipes/Plumbing
Electrical Lighting and Fixtures
HVAC Equipment and Fixtures
1. Insert the appropriate nut driver into a 3/8″ or 1/2″ portable drill.
2. Insert the SAMMYS into the #14 (black) nut driver (p/n 8113910). Drill should be in a vertical position.
3. Push the face of the nut driver tight to the member. When the nut driver spins freely on the SAMMYS, stop drill and remove.
4. The SAMMYS is now ready to receive 1/4″, 3/8″, 1/2″ or metric all thread rod, bolt stock. (The 1/2″ requires the #14SW red nut driver)
Important Vertical Installation Notes
Warranty requires the use of appropriate nut drivers for installation.
Model #14 Nut Driver Item No: 100 Color: Black
Use With Sammys for 1/4″ and 3/8″ Rod PN 8113910
Eye protection should be worn at all times when installing this product.
1. Insert the appropriate nut driver into a 3/8″ or 1/2″ portable drill.
2. Insert the SAMMYS into the #14W (red) nut driver (p/n 8114910). With drill unit in a horizontal position and at a right angle to the structural member, begin installation.
3. When the nut driver spins free on the SAMMYS, stop drill and remove.
4. The unit is now ready to receive 1/4″, 3/8″, or metric all thread rod, bolt stock.
Important Horizontal Installation Notes
Warranty requires the use of appropriate nut drivers for installation. Sidewinders must be
installed using Model #14SW (Red) nut driver only. Item No: 101 PN: 8114910
Eye protection should be worn at all times when installing this product.
SAMMYS Vertical Mount |
|||||||||||
| ROD SIZE | PART NUMBER | MODEL | DESCRIPTION | ULTIMATE PULLOUT (LBS) | TEST LOAD (LBS) | TEST LOAD (LBS) | MIN THICKNESS | MAX THICKNESS | BOX QTY | CASE QTY | NUT DRIVER |
| 3/8" | 8040957 | DST 10 | 1/4-14 x 1" TEKS 3 | 446 (20 ga.) 970 (16 ga.) | - | - | .036"-20 ga | 3/16" | 25 | 125 | Part # 8113910 |
| 3/8" | 8041957 | DST 15 | 1/4-14 x 1-1/2" TEKS 3 | 446 (20 ga.) 970 (16 ga.) | - | - | .036"-20 ga | 3/16" | 25 | 125 | |
SAMMYS Horizontal Mount |
|||||||||||
| 3/8" | 8055957 | SWDR 1 * | 1/4-20 x 1" TEKS 3 | 1900 (20 ga.) | 1500 | 1475 | .036"-20 ga | 3/16" | 25 | 125 | Part # 8114910 |
| 3/8" | 8056957 | SWDR 516 * | 5/16-18 x 1-1/4" TEKS 3 | 2480 (20 ga.) | 1500 | 1475 | .036"-20 ga | 1/8" | 25 | 125 | |
SAMMYS Sidewinders for Steel – Seismic Restraint |
|||||||||||
| 3/8" | 8056957 | SWDR 516 | APPLICATION: Steel Purlin or Bar Joist | - | - | 16 ga | 1/8" | 25 | 125 | Part # 8114910 | |
*Includes retaining nut
SPECIAL NUT DRIVER SYSTEM: The nut drivers were designed with a unique spin-off feature which provides a fast and safe installation each time. When the face of the driver comes into contact with the material you are installing into, continue drilling until nut driver spins free. Installation is then complete. Warranty requires the use of the appropriate nut driver for installations.